5 Tips for Automating Laser Marking With Robots
Automating laser marking can be a useful way to increase robots’ utilization, but the process requires careful planning for success.
#Basics
Share
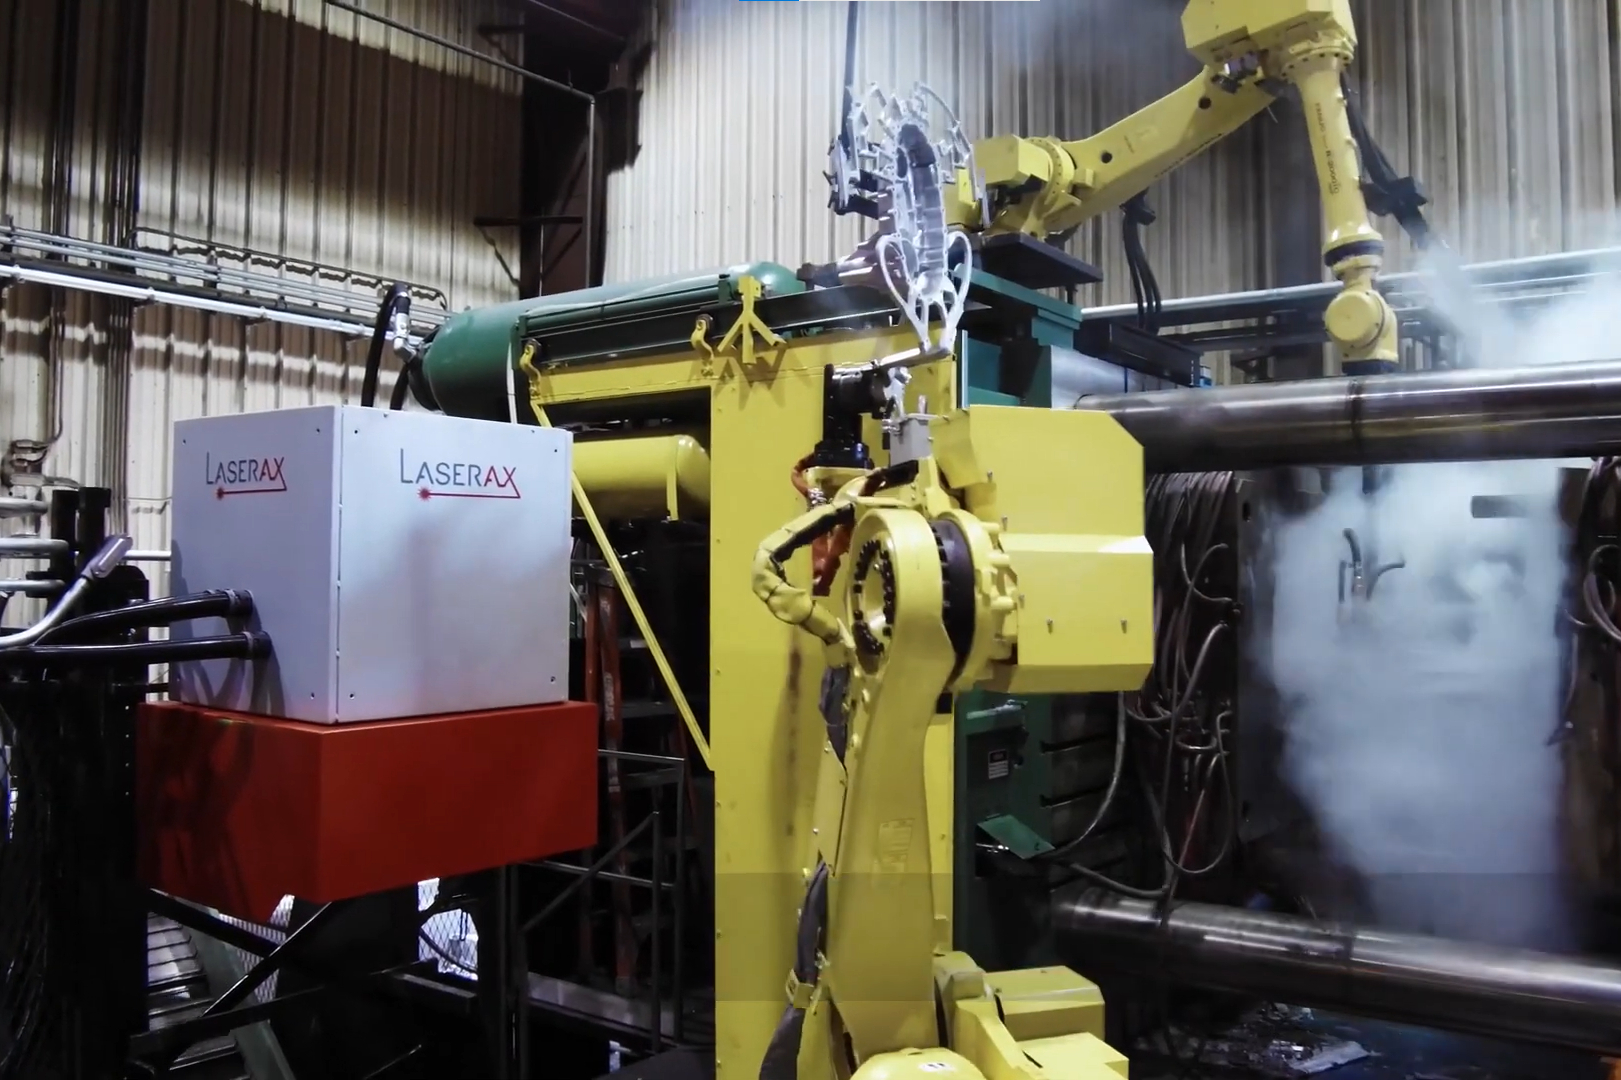
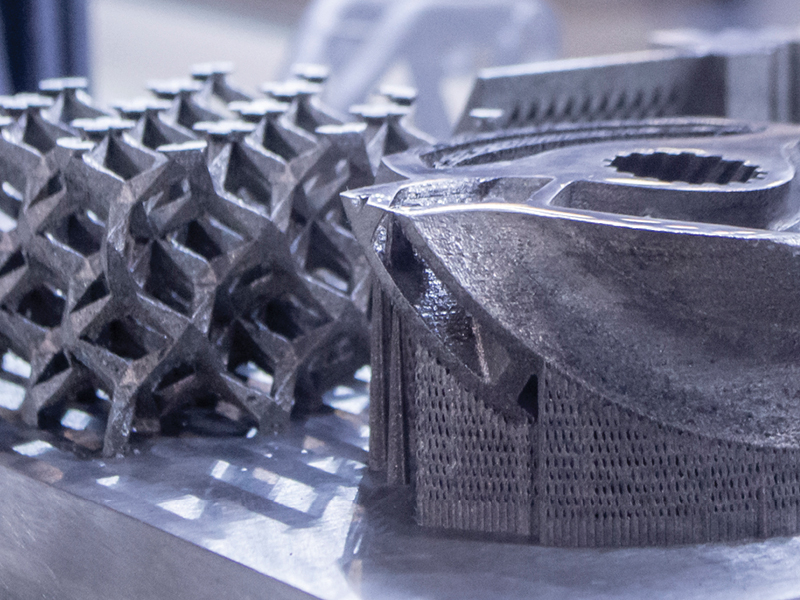
Automating laser marking gives robots a task during what might otherwise be their idle time — but proper integration requires careful consideration of repeatability, type of laser marking system, part temperature and other factors. Images courtesy of Laserax.
Many manufacturers aiming to improve their production rates without sacrificing precision have turned to robotic automation — especially robotic automation that performs multiple operations. One growing example of this type of deployment is the addition of automated laser marking to the work of a robot already performing machine tending. This enables the robot to perform a task during what would be idle time for machine tending, increasing the robot’s utilization and further increasing the automation cell’s productivity.
There are many ways to add automated laser marking capability to a shop floor. Three common robotic laser marking deployments include:
Featured Content


- Open-Air: Robots hold the part during laser marking. Open-air laser marking uses little floor space and can leverage a robot’s idle time.
- Automated Door: The robot positions the part in a laser marking machine and performs other operations during laser marking.
- Rotary Table: A dual-position rotary table allows the robot to drop a part on one side of the table, presenting the part for laser marking, while unloading another part almost simultaneously. This method ensures the robot is always busy moving parts.
Choosing between these types of setups requires careful planning and consideration of multiple factors. The following five tips should provide a general overview of the planning involved in successfully integrating an automated laser marking setup.
1. Make a Sequence Diagram
A sequence diagram for the robot’s operations provides a visual reference that maps its movement, operations and timelines for each step. Time-focused sequence diagrams map interactions and provide step-by-step charting of what happens during each phase of operation.
Not only do these diagrams illustrate what additional automation hardware is needed, they also show exactly how much time is available for laser marking. This helps with calculating the overall impact of using laser marking and finding the most efficient way to deploy it.
For example, if there are 30 seconds of robot idle time available at one phase of the process, deducting the handling time reveals how much time remains for laser marking. If the robot needs 10 seconds to position parts for laser marking, 20 seconds will remain for the marking process.
2. Consider the Entire Production Cycle
Laser marking may be a single operation in the production cycle, but it must not be treated as such. Consider how other operations might affect the laser marking process.
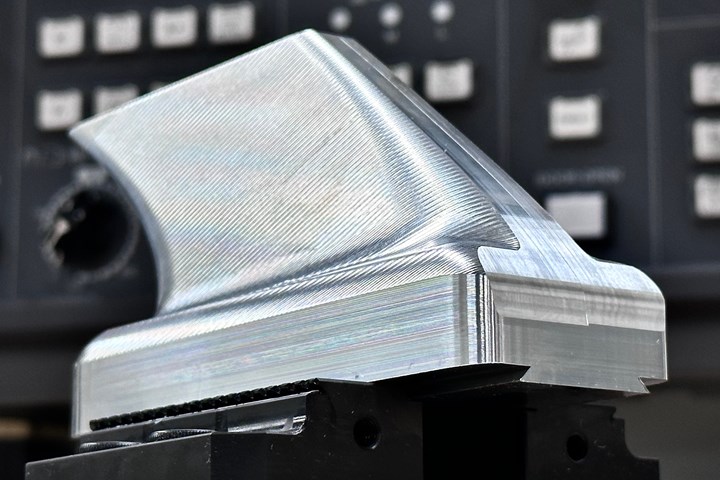
The most common operations that affect laser marking are surface treatments such as shotblasting, e-coating, powder coating and heat treating. These post-treatments can degrade marking legibility, making them difficult to read.
Adjusting the laser marking process can produce marks that resist post-treatments, but these adjustments usually result in longer marking cycle times. Shotblast-resistant markings, for example, can take two to three times longer to complete than regular markings. Stronger lasers can bring these longer cycle times back down, but the resulting operation should be tested before performing robotic sequencing to confirm final cycle times and prevent bottlenecks.
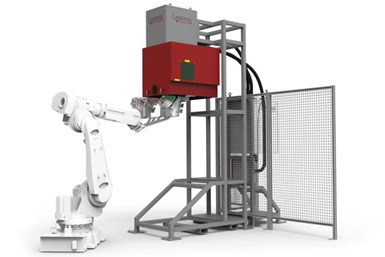
Open-air laser marking machines require little floor space and can be positioned anywhere on the shop floor, simplifying the process of integrating them with a robot.
3. Think About Shop Floor Layout
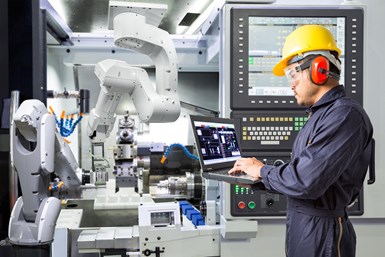
Manufacturers can easily overlook their shop floor layout and workflow when thinking about adding robotics, but accounting for floor plans and processes is essential to ensuring robots operate at their maximum efficiency.
As smaller machines are simpler to fit into an existing floor plan, shops with crowded layouts may wish to consider a small-footprint, open-air laser marking machine. Open-air designs are laser enclosures without a dedicated place to position the part, where the robot holds the part in the air during laser marking. An open-air design makes it possible to position the laser enclosure virtually anywhere, so long as the robot can reach it. Open-air machines are easy to add into existing production cells, and are a good way to leverage a robot’s precision and idle time.
Remotely located cabinets and control panels further minimize machine footprints, and using a robot’s gripper for fixturing can eliminate the need for separate equipment.
4. Consider the Robot’s Precision
Not every robot or robotic application holds the same precision. Some robot grippers are less precise than others and lead to positioning deviations that affect laser marking quality. Be sure to compare precision and repeatability between robots and grippers.
To adapt for part positioning variations, vision cameras and sensors can provide positioning feedback to either adjust the robot’s position for laser marking or adjust the laser marking process itself.
5. Consider the Part Temperature
While testing a new laser marking setup, be sure to account for part temperatures during the manufacturing process. Temperature changes alter the distance between the laser head and the part being marked, so failing to compensate can warp metal parts and induce position errors. Marking a part at 200°C will require a different amount of energy to be successful than marking a part at 15°C.
RELATED CONTENT
-
Look Again — Multiprocess Machine Tools Hint at Machine Shop Changes
The acceptance of complex machine tools has measurably increased. Recent articles offer a multifaceted look at multitasking machines.
-
New Applications for Electrochemical Grinding
With advances in control, sensor and automation technology, electrochemical grinding is more accurate and productive than ever, opening up new applications for the traditionally niche process.
-
Communicating the Value of Time Is the Key to Online Job Quoting
Online digital tools that automate the quote-to-order process must help job shops and their customers agree on the value of time.

.1692800306885.png)

.1687801407690.png)