Inexperienced machine operators might not know how to recognize when components of collet-and-nut-style toolholder assemblies need to be replaced, or worse, might not even fully grasp the importance of doing so. That’s a shame. After all, according to tooling supplier Techniks (Indianapolis, Indiana), proper toolholder care is one of the most cost-effective ways to increase machine productivity, protect equipment investments, and reduce downtime and scrap without sacrificing part quality.
Earlier this year, the company published the “Machinist’s Guide to Toolholder Maintenance,” a five-page overview of some of the most important aspects of keeping collet-and-nut-style toolholders in top condition. Even shop veterans might benefit from a single-source guide to the criteria used to evaluate holders, the reasoning behind when and why components should be replaced and the implications of not providing proper care. Here is a summary of some of the guide’s most important points:
Clean and Check with Every Use
Toolholder wear can not only reduce accuracy, but also quickly wear out cutting tools and risk damage to the machine spindle or the holder itself. Regularly bench-checking each holder’s total indicator runout (TIR) is the easiest way to identify those that are wearing out of spec.
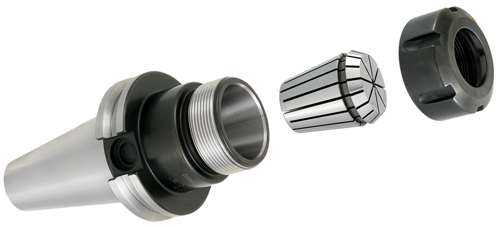
In addition to regular bench checks, the guide recommends periodically checking each toolholder component for signs of wear. It also notes that cleaning the holder, collet pocket, collet and nut after every use can go a long way toward preventing wear in the first place. Consider that these components are typically manufactured to perform within tolerances as tight as 0.0001 inch. At that level of precision, dirt, dust, oil, chips and other contaminants can cause runout, which in turn leads to premature wear.
Wear: What to Look For
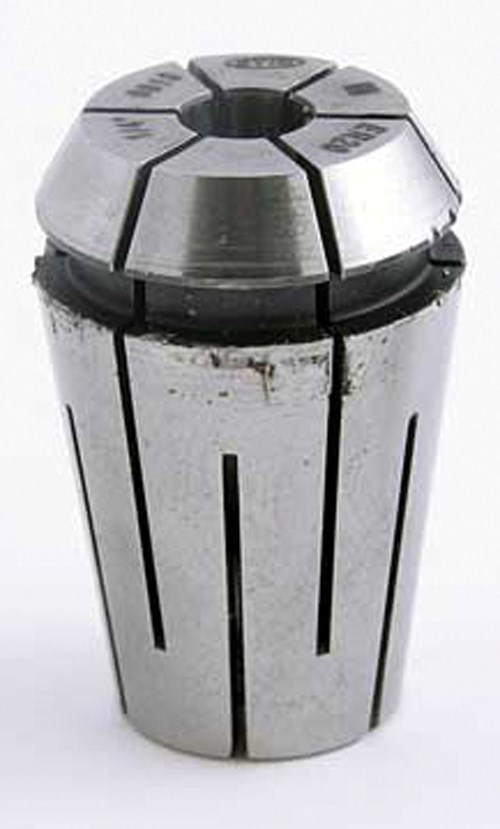
According to the guide, collets are likely to wear out faster than the holder itself because they are typically manufactured from softer metal. Additionally, that material is subject to repeated stress as the collet collapses shut and springs open during every tool change. Keep an especially close lookout for scoring marks that indicate damage from the collet spinning in the pocket. This often occurs when the collet nut provides inadequate holding power.
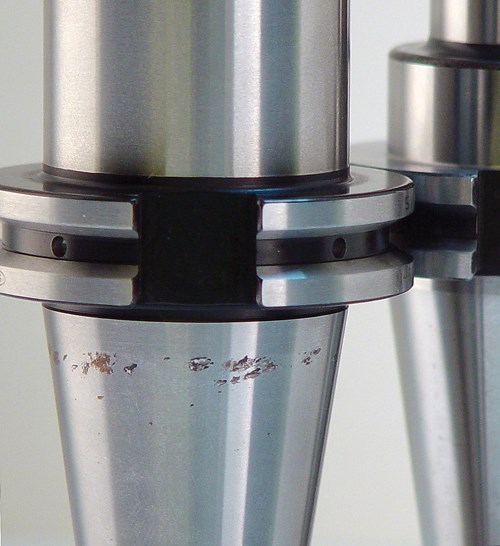
The taper is another area likely to experience wear. In particular, watch for fretting, a condition that manifests as small, copper-colored pits or marks that can be mistaken for rust. Fretting is caused by vibration that results from an imperfect mating between the taper and spindle. Once it develops, the holder should be replaced.
Finally, checking the pull stud for signs of wear or damage is critically important because it maintains the connection between the spindle and toolholder. If that connection fails, the holder could fly out of the spindle.
When the Holder is Not the Problem
A worn-out spindle mouth can cause similar problems as a worn toolholder: reduced accuracy, cutting quality and productivity. This condition, known as bellmouthing, is a common culprit when bench-checking TIR reveals that all is fine with the holder itself. Additionally, evidence of fretting on new holders might indicate that the spindle needs to be reground.
Use That Torque Wrench
According to the guide, shops should always use a tightening stand and torque wrench to properly tighten pull studs and collet nuts. This ensures safety and prevents overtightening, which can cause premature damage to collets and collet pockets. Auxiliary components that prevent contaminants from entering the collet pocket are also recommended. (Techniks offers spindle wipers, which are designed to prevent contaminants from building up in the spindle mouth, and Black Gold rings, which are sized to fit the tool shank and seal the collet pocket.)
A Handy Reference
In addition to more detail on the above points, the full guide includes basic toolholder terminology and concepts as well as useful illustrations and pictures.
RELATED CONTENT
-
I’ve said that the toolholder is the least appreciated element in many milling processes, but the pull stud (or retention knob) is perhaps the least appreciated component of the toolholder.
-
Horn USA has developed quick-change tooling systems to drastically reduce set-up and toolchange times for Swiss-type lathes, including those with through coolant.
-
Working in short lead times means maintaining a large range of tools to be ready. What is the right way to stock and organize this investment?





.1692800306885.png)


.1687801407690.png)
